Initial Gateway Mode Setup
Sign in to Your Account
-
Follow the directions in the welcome email from Cisco to set up your user account.
-
Once you have successfully signed in, accept the Terms and Conditions.
-
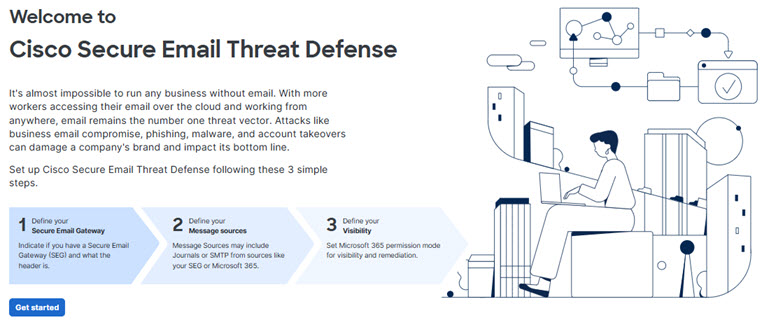
You now have access to the Welcome to Cisco Secure Email Threat Defense page. Click Get Started, then follow the setup wizard as described in the following sections.
Secure Email Threat Defense uses Cisco Security Cloud Sign On to manage user authentication. Use the link in your welcome email to use your existing Security Cloud Sign On account or sign up for a new one.
Select Mode
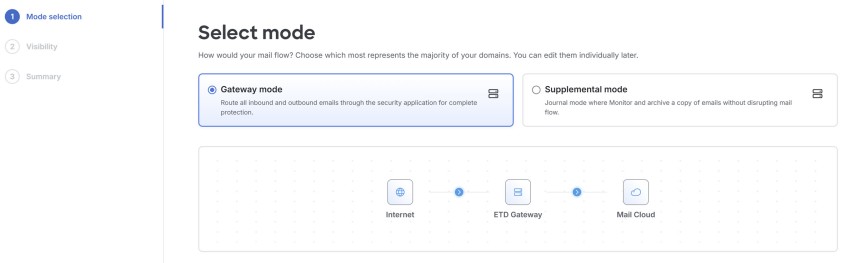
If you are using a Gateway and will route inbound and outbound emails through Secure Email Threat Defense, select Gateway mode.
-
How will your mail flow? Select Gateway mode. You can chose to use Secure Email Threat Defense as a primary or secondary gateway in future steps.
-
Click Next.
Define your Visibility
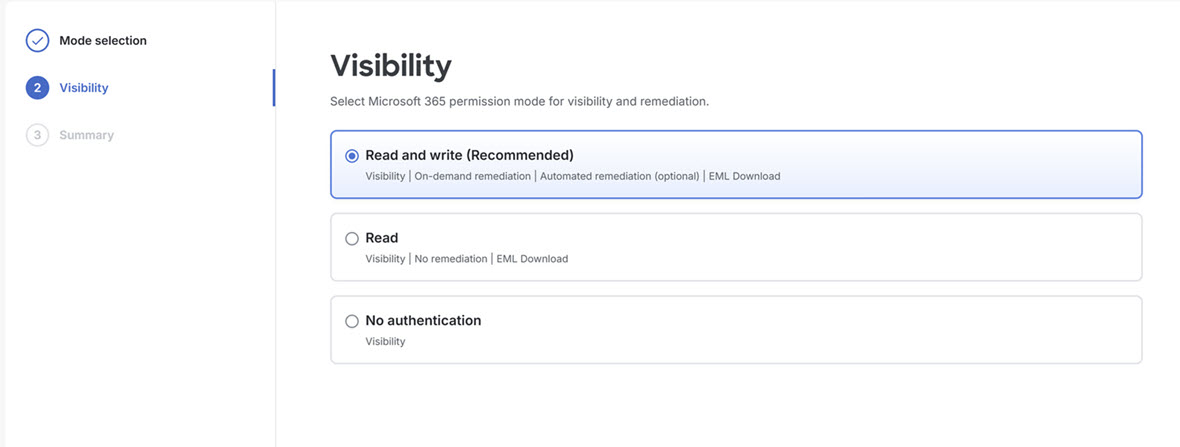
Select your Microsoft 365 permission mode for visibility and remediation. The visibility defines the type of remediation policy you can apply.
Microsoft 365 Authentication
-
Read and Write — Allows visibility and on-demand or automated remediation (that is, move or delete suspect messages). Read and write permissions will be requested from Microsoft 365.
-
Read — Allows visibility only, no remediation. Read-only permissions will be requested from Microsoft 365.
If you choose Read and Write, you will need to turn on the remediation policy in your Configuration Settings once your setup is complete. To apply auto-remediation to all internal emails, ensure the Apply Policy to domains not in the list above box on the Configuration > Mail flow configuration > Domains panel is selected.
For Microsoft 365 Authentication mode, Secure Email Threat Defense requests access permissions from Microsoft. These permissions depend on whether you choose Read and Write or Read mode. You can find details about the permissions in the linked Microsoft documentation.
-
No Authentication — This option is available if you use a SEG as your message source. It provides visibility only; you cannot remediate messages.
Table 1. Microsoft Graph API Permissions
| MS Graph API Permission | ETD Mode | ETD Usage |
|---|---|---|
| Mail.Read | Read |
|
| Mail.ReadWrite | Read and Write |
|
| Calendars.ReadWrite | Read and Write |
Calendar event access and remediation |
| User.Read | All | Default requesting user permission |
| Domain.Read.All | All | Import mail servers |
| Organization.Read.All | All | Import domains |
| User.Read.All | All |
|
| Group.Read.All | All |
|
| GroupMember.Read.All | All | Group based policy exceptions |
If you chose Microsoft 365 Authentication, connect to Microsoft 365.
-
Click Next to connect to Microsoft 365.
-
Log in to your Microsoft 365 account, as prompted. This account must have Global Admin rights; Secure Email Threat Defense will not store or use the account. To learn why these rights are required, see Why are Microsoft 365 Global Admin rights required to set up Secure Email Threat Defense?.
-
Click Accept to accept the permissions for the Secure Email Threat Defense app. You will be redirected to the Secure Email Threat Defense setup page.
-
Click Next.
Review Your Policy Settings
When your the setup wizard is complete, you will be on a Summary page. Click Review policy to review your policy configuration. For information on policy settings, see Configuration Settings.
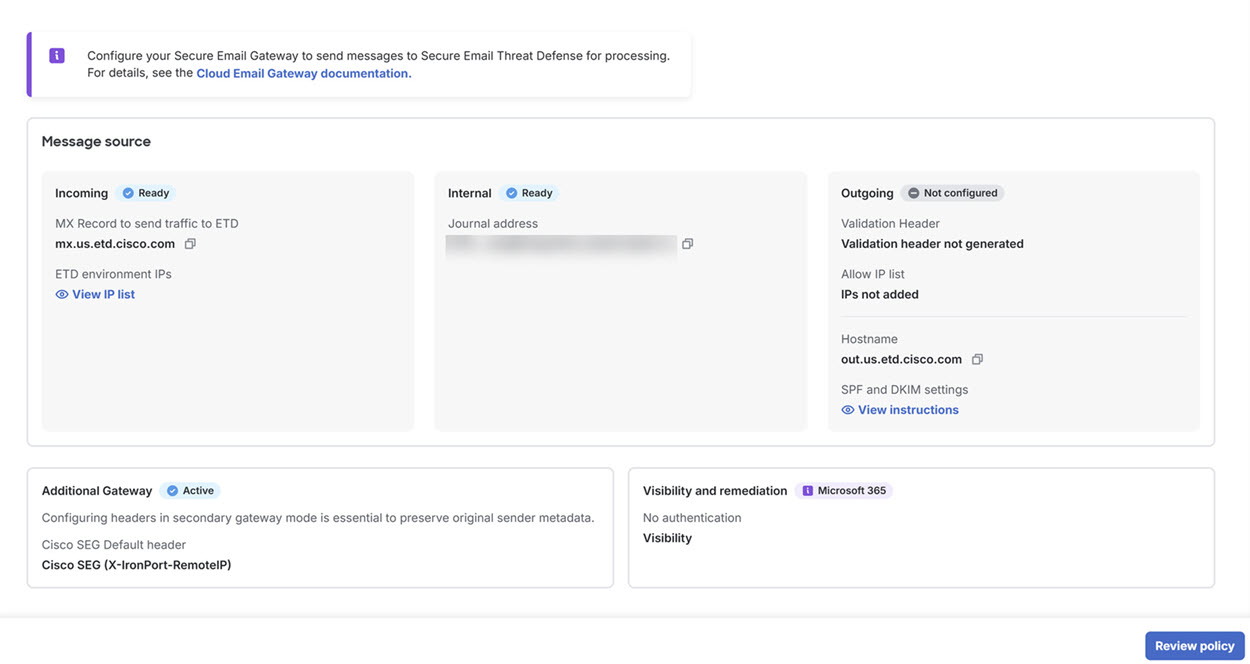
Integrate with Microsoft and Set up Mail Flow
Now that this basic setup is complete, you must complete the following depending on your configuration:
-
If you authenticated to Microsoft, Integrate with Microsoft 365.